FREE DELIVERY ON ORDERS OVER $149.00. FIRST ORDER DISCOUNT OF 10% USE CODE WELCOME!0

10 Tips for Bubble-Free Wall Decal Application
Applying wall decals can transform your space, but getting that perfect, bubble-free finish can be tricky. Here's your comprehensive guide to achieving professional-looking results every time.
Janelle Simmons
5/8/20241 min read
1. Gather Your Tools
Before you begin, make sure you have all the necessary tools:
Squeegee or credit card
Clean cloth
Measuring tape
Level
Painter's tape
Cleaning solution
2. Prepare Your Surface
Clean the wall thoroughly with mild soap and water
Remove any dust or debris
Allow the surface to dry completely
For best results, avoid applying decals to freshly painted walls (wait at least 2 weeks)
3. Plan Your Placement
Use a measuring tape and level to mark your desired position
Create reference points with painter's tape
Step back and verify the placement looks correct from different angles
4. Check Your Room Temperature
Ideal application temperature is between 65-75°F (18-24°C)
Avoid applying decals in extremely hot or cold conditions
Keep away from direct sunlight during application
5. Start With a Test Corner
Begin peeling from one corner
Test a small section first
If the decal doesn't stick properly, the wall might need additional cleaning
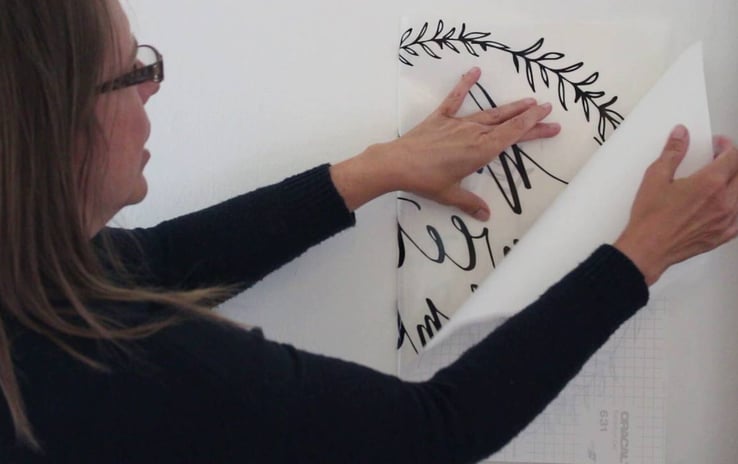
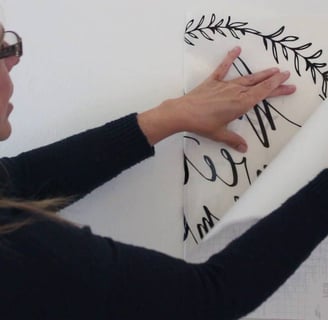
6. Use the Hinge Method
Position your decal and secure the top with painter's tape
This creates a hinge that ensures proper alignment
Peel away the backing gradually while working downward
7. Apply With Proper Technique
Work from the center outward
Use smooth, firm strokes with your squeegee
Keep the application angle consistent
Move in small sections at a time
8. Remove Bubbles Immediately
If you spot a bubble, lift the section gently
Reapply using firm pressure
Use your squeegee to push air bubbles toward the nearest edge
9. Pay Special Attention to Details
Take extra care with intricate designs
Work slowly around letters and small elements
Don't rush the process – patience is key
10. Final Smoothing
Once the entire decal is applied, go over the entire surface again
Use firm, overlapping strokes
Pay special attention to edges and corners
Remove the transfer tape at a 180-degree angle
Pro Tips:
If you're working with a large decal, ask a friend to help
For textured walls, you may need to apply extra pressure
Keep the room free from drafts during application
Wait 24-48 hours before touching or cleaning the decal
Silver Heron Prints - Quick Links
Contact
© 2025. All rights reserved.